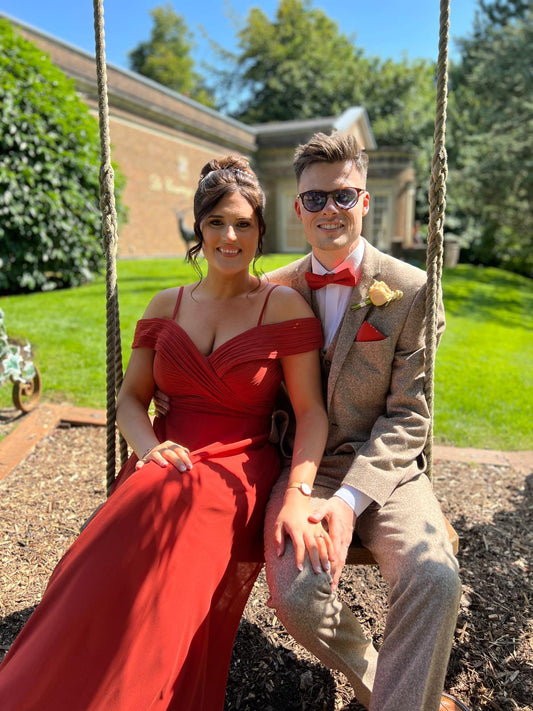
If you're looking to elevate your tie game and add a bit of flair to your wardrobe, the Van Wijk Tie Knot is an excellent choice. Named after its stylish and sophisticated creator, this knot offers a sleek and modern look that’s sure to turn heads. Whether you're attending a formal event, business meeting, or simply want to stand out from the crowd, the Van Wijk Knot is the perfect way to make a statement. Here’s a simple, step-by-step guide to help you master this elegant knot.
Step 1: Position the Tie
Start by draping the tie around your neck with the wide end on the right side and the small end on the left. The tip of the small end should rest just slightly above your belly button. This position may vary depending on your height, as well as the length and thickness of your tie. Adjust the placement to suit your personal style and comfort.
Step 2: Cross the Wide End Over the Small End
Now, take the wide end of the tie and cross it over the small end to the left. You’re essentially setting up the foundation for the knot, so make sure the wide end lies flat and aligned.
Step 3: Bring the Wide End Under the Small End
Next, bring the wide end under the small end and move it to the right side. This begins to create the loops that will form the distinctive look of the Van Wijk Knot.
Step 4: Cross the Front to the Left
Cross the wide end across the front of the small end, moving it to the left side. This adds more structure to the knot and is part of what gives the Van Wijk Knot its unique appearance.
Step 5: Under the Small End and to the Right
Now, take the wide end and pass it under the small end, moving towards the right. Make sure you're keeping everything taut so that the knot doesn’t look too loose.
Step 6: Across the Front and to the Left
Once again, cross the wide end across the front, this time to the left. This will continue building the intricate layers of the knot.
Step 7: Under the Small End and to the Right Again
Bring the wide end under the small end and to the right once more. At this point, you should begin to see the layers of the knot stacking up beautifully.
Step 8: Across the Front and to the Left (Once More)
Cross the wide end once more across the front of the tie, moving it to the left. This final pass through creates the complex, layered effect of the Van Wijk Knot.
Step 9: Up into the Neck Loop
Take the wide end and bring it up into the neck loop from underneath. You should be nearing the final stages of the knot at this point.
Step 10: Down Through All Three Loops in the Front
Now, bring the wide end down through all three loops that have formed in the front of the knot. This step secures the knot in place.
Step 11: Tighten and Adjust the Knot
Finally, to complete the knot, pull down gently on the wide end. Adjust the knot by sliding it up to your collar. The key is to make sure the first and second loops show slightly underneath the third loop for that polished, sophisticated finish.
Tips for Perfecting Your Van Wijk Tie Knot:
- Practice Makes Perfect: This knot can take a little bit of practice to perfect. Don't worry if it doesn’t look perfect the first time – keep at it, and soon you'll be able to tie the Van Wijk Knot with ease.
- Adjust for Fit: Since the Van Wijk Knot is quite intricate, make sure your tie is the right length and thickness to achieve the desired look.
- Wear with Confidence: The Van Wijk Knot is bold and eye-catching. Pair it with a crisp shirt and a well-tailored suit, and you’ll exude confidence and sophistication.
With this step-by-step guide, you'll be ready to rock the Van Wijk Tie Knot with confidence. Whether you're aiming for a stylish office look or need something sophisticated for a night out, this knot adds the perfect finishing touch to your ensemble. Happy tying, and don’t forget to check out Swagger & Swoon for the best selection of premium ties to pair with your new knot!


