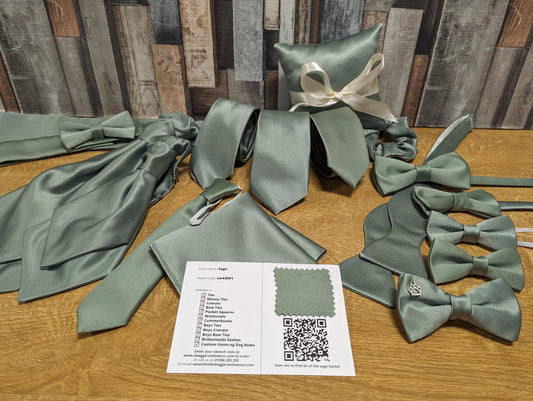
The Atlantic Tie Knot is a sleek, sophisticated knot that adds a polished, refined look to any outfit, making it an excellent choice for weddings, formal events, or any occasion where you want to look your best. Whether you're the groom, a groomsman, or simply a guest looking to stand out, this knot will give your tie a modern yet timeless elegance.
At Swagger & Swoon, we believe in helping you master classic styles with ease. So, let’s walk you through how to tie the Atlantic Tie Knot step-by-step, ensuring you’re ready for your next big event!
Step 1: Position the Tie
Start by placing the tie around your neck, with the wide end on the right and the narrow end on the left. The tip of the narrow end should rest at your desired length, usually just above your belly button (this may vary based on your height and the length of your tie). The wide end should be longer than the narrow end for the knot to form correctly.
Step 2: Cross the Wide End Over the Narrow End
Next, cross the wide end of the tie over the narrow end, bringing it from right to left. This is the foundation of the knot. You’ll now see the wide end laying across the front of the narrow end.
Step 3: Wrap the Wide End Behind the Narrow End
Now, take the wide end and pass it behind the narrow end, moving it towards the front of your neck. This step creates the beginnings of the knot’s structure and prepares you for the next few moves.
Step 4: Bring the Wide End Up Through the Loop
Once the wide end is behind the narrow end, bring it upward through the loop that forms at the top of your neck. This loop is the key part of the Atlantic Knot's clean, sleek design.
Step 5: Pull the Wide End Down Through the Loop
After bringing the wide end through the neck loop, you’ll see a second loop forming in the front. Now, pull the wide end down through this loop to tighten the knot. This step secures the knot and gives it its classic, symmetrical look.
Step 6: Adjust the Knot for a Perfect Fit
The final step is all about making sure the knot looks sharp and sits comfortably at your collar. Gently pull on the narrow end to adjust the tightness of the knot, ensuring it’s snug but not too tight. The knot should rest comfortably against your collar, with the first and second loops showing slightly underneath the third loop for that signature Atlantic Knot style.
Slide the knot up, and make any small adjustments as needed to ensure it’s centered and neat.
Tips for a Perfect Atlantic Tie Knot:
- Tying with the Right Length: For the Atlantic Knot to look its best, make sure the wide end of your tie is at the right length. Typically, the tip of the wide end should reach your belt buckle when finished, but this may vary depending on your height and the length of the tie.
- Smooth the Tie: As you tie the knot, be sure to smooth out any creases in the fabric to keep the knot looking clean and crisp.
- Practice Makes Perfect: If this is your first time tying the Atlantic Knot, don’t worry if it takes a couple of tries. With a little practice, you'll be able to tie it quickly and confidently.
The Atlantic Tie Knot is a sleek and modern choice for anyone who wants to look their best at a formal event. Whether you're tying it for a wedding, an important meeting, or any other special occasion, this knot adds a sophisticated touch to your ensemble. Now that you know how to tie it, you’re ready to take on your next big event with style and confidence.
Looking for the perfect tie to pair with your new knot? Check out Swagger & Swoon’s premium selection of ties, perfect for weddings and formal occasions. We’ve got everything you need to complete your look!


